Layout structure
The main layout is a mainLayout.html file under client->views->layouts->main.html. Main layout is set in client->config->router.js as a layoutTemplate.
So all views (templates in Meteor) are use this main layout.
<template name="mainLayout">

    <!-- Wrapper-->
    <div id="wrapper">

        <!-- Navigation -->
        {{> navigation }}

        <!-- Page wraper -->
        <div id="page-wrapper" class="gray-bg">

            <!-- Page wrapper -->
            {{> topNavbar }}

            <!-- Main view  -->
            {{> yield}}

            <!-- Footer -->
            {{> footer }}

        </div>
        <!-- End page wrapper-->

        <!-- Right Sidebar -->
        {{> rightSidebar }}

    </div>
    <!-- End wrapper-->

</template>
Common templates and pages
Main layout use common templates like navigation, top navbar, footer, right sidebar. All common templates you can find under client->views->common
Each page in Meteor is a template. All pages/templates you can find at client->views->pages folder.
client->views->pages/
    ├── appviews/
    ├── cssanimations/
    ├── dashboards/
    ├── forms/
    ├── gallery/
    ├── graphs/
    ├── gridoptions/
    ├── layouts/
    ├── mailbox/
    ├── miscellaneous/
    ├── otherpages/
    ├── tables/
    ├── uielements/
    ├── widgets/
Each page has also own pageHeading template - it is a heading bar with breadcrumb
It is added to view as a {{> pageHeading}}
{{> pageHeading title='Advanced form elements' category='Forms' }}
And the structure of it is:
<template name="pageHeading">
    <div class="row wrapper border-bottom white-bg page-heading">
        <div class="col-lg-12">
            <h2>{{title}}</h2>
            <ol class="breadcrumb">
                <li>
                    <a href="{{pathFor route=home}}">Home</a>
                </li>
                {{#if category}}
                <li>
                    <a>{{category}}</a>
                </li>
                {{/if}}
                <li class="active">
                    <strong>{{title}}</strong>
                </li>
            </ol>
        </div>
    </div>
</template>
Page Script
Meteor has own build and injection system. So you dont need to worry about adding a script. In client->plugins folder are all files for plugins.
Thay are automatically added by Meteor to your app.
Route config
To manage all route we use great plugin iron-router https://github.com/iron-meteor/iron-router.
It allows you to organize the parts of your interface into a templates.
Below you can see example of configuration routes. Configuration routing are in client->config->router.js
//
// Dashboards routes
//

Router.route('/dashboard1', function () {
    this.render('dashboard1');
});
Router.route('/dashboard2', function () {
    this.render('dashboard2');
});
Router.route('/dashboard3', function () {
    this.render('dashboard3');
});
Router.route('/dashboard4', function () {
    this.render('dashboard4');
    this.layout('layout2');
});
Router.route('/dashboard4l', function () {
    this.render('dashboard4l');
});

.....
// Other routes
Options
Inspinia provide few option for you layout app. There are:
- Fixed sidebar
- Fixed navbar
- Fixed footer
- Layout 2 (top navigation)
- Off canvas menu
- Skins
Fixed sidebar
Fixed sidebar is a sidebar that is sticked on screen.
To add fixed sidebar you need to add .fixed-sidebar class to body and initialize slimScroll for it.
In client->views->layouts->main.js file you can see a comment // FIXED-SIDEBAR.
To add fixed sidebar you just need to uncomment this code:
     $('body').addClass('fixed-sidebar');
     $('.sidebar-collapse').slimScroll({
         height: '100%',
         railOpacity: 0.9
     });
Be sure that you have slimScroll plugin in your project. (it is included in Full version as well as Seed project)
Fixed navbar
Fixed navbar is a top navbar that is sticked on screen.
In client->views->common->top-navbar.js file you can see a comment // FIXED TOP NAVBAR OPTION.
To add fixed navbar you just need to uncomment this code:
    $('body').addClass('fixed-nav');
    $(".navbar-static-top").removeClass('navbar-static-top').addClass('navbar-fixed-top');
Fixed navbar 2
Fixed navbar 2 is a top navbar that is sticked on screen and it's width is the same as the width of wrapper
In client->views->common->top-navbar.js file you can see a comment // FIXED TOP NAVBAR OPTION.
To add fixed navbar 2 you just need to uncomment this code and replace with new one:
     $('body').addClass('fixed-nav').addClass('fixed-nav-basic');
     $(".navbar-static-top").removeClass('navbar-static-top').addClass('navbar-fixed-top');
Fixed navbar 2 works only on primary layout
Fixed footer
Fixed footer is a bottom footer that is sticked on screen.
In client->views->common->footer.js file you can see a comment // FIXED FOOTER.
To add fixed footer you just need to uncomment this code:
$('.footer').addClass('fixed');
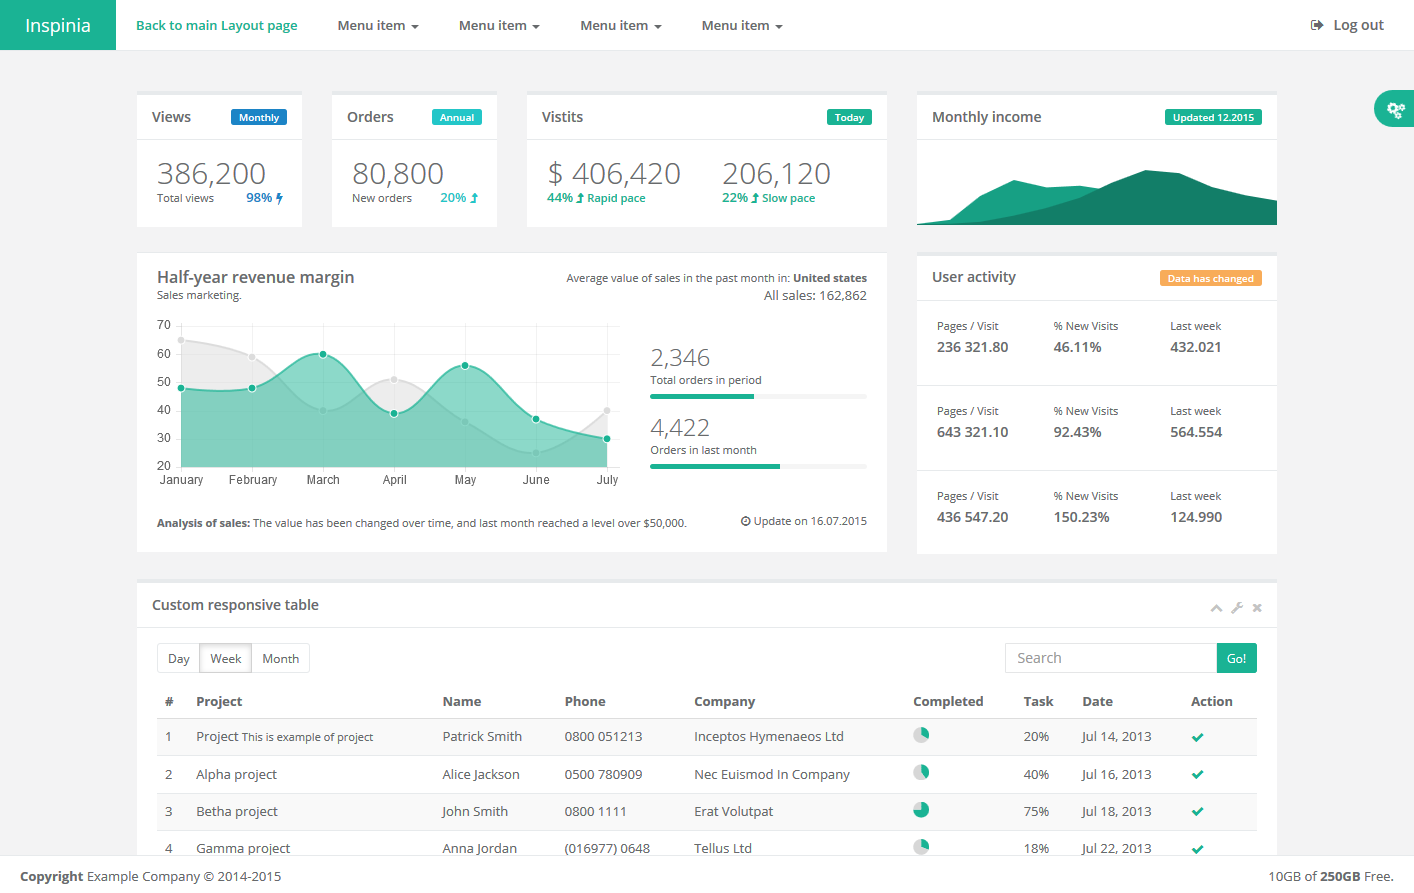
Layout 2
Layout 2 is a top navigation with centered content layout.
For layout 2 we prepared special examples files in client->views->layouts->layout2.html
<template name="layout2">

    <!-- Wrapper-->
    <div id="wrapper">

        <!-- Page wraper -->
        <div id="page-wrapper" class="gray-bg">

            <!-- Navigation -->
            {{> topNavigation }}

            <!-- Main view  -->
            {{> yield}}

        </div>
    </div>

</template>
To use layout 2 all you need to do is to specify it with your router.js: (example from dashbard 4).
Router.route('/dashboard4', function () {
    this.render('dashboard4');
    this.layout('layout2');
});
And you will get a Layout 2.
You have to remember that now your menu is located in client->views->common->top-navigation.html file.
Off canvas menu
Off canvas menu is a menu that not change the width of main wrapper page. It appear on top of the page.
To use off canvas menu you just need to add .canvas-menu to body element and initialize slimScroll for it.
We add example page for offCanvas menu client->views->pages->appviews->offCanvas.html. And the js file for it:
client->views->pages->appviews->offCanvas.js.
To enable off canvas you just need to applay class and plugin in template rendered function
Template.offCanvas.rendered = function(){

    // Add special class for off canvas menu layout
    $('body').addClass('canvas-menu');

    // Initialize slimScroll for left navigation
    $('.sidebar-collapse').slimScroll({
        height: '100%',
        railOpacity: 0.9
    });

};
Skins
Inspinai theme has 3 diferent skins
To change skin you just have to add skin class to body element.
In
client->views->layouts->main.js file you can see a comment // SKIN OPTIONS.
To add skin class uncomment this code:
$('body').addClass('skin-1');
In LESS files skins.less you can find style for the skin. Below is a representation of css classes demand color skin.
.skin-1 - Blue Light.skin-2 - Inspinia Ultra {for support with Inspinai Ultra please contact with support@webapplayers.com}.skin-3 - Yellow/purple.md-skin - Material Design Skin (In demo Inspinia Material Design version has also fixed sidebar and fixed navbar option)- Defaut skin does not need any class
Meteor Seed Project
It is an application skeleton for a typical Meteor web app. You can use it to quickly bootstrap your Meteor webapp projects. It has all necessary resources/files to help you started new project.
As your project will grow you will need to add new resources. Look at the full version to select the elements and resources you want to use.
Seed Project you can run exactly the same as Full version by command meteor
Change log 2.7 -> 2.7.1
Changed Inspinia js files
- main.js - correct typos in fix_height function
CSS/LESS/SCSS/SASS
- Fix media-body style on right sidebar
- Fix form-control style to allow inout sizing
- Fix min-height issue with small content
- Fix background menu on md-skin
- Fix tabs in top-navigation layout
- Fix label style to release sizing option
Change log 2.6.2 -> 2.7
Please note that since Inspinia 2.7 Meteor project has been upgraded to Meteor 1.4.2.3.
This update required:
- meteor update
- npm init
- meteor npm install --save babel-runtime
New view files
- pages/appviews/activityStream.html
- pages/miscellaneous/passwordMeter.html
- pages/miscellaneous/spinnersUsage.html
- pages/miscellaneous/textSpiners.html
Changed views files
- views/common/navigation.html - add new menu elements for new views
- views/pages/forms/formAdvanced.html (js) - add new example for switchery control
- views/pages/layouts/layouts.html - correct typos in image names and descriptions
- views/pages/dashboards/dashboard-3.html - update css class of sidebar
- views/pages/mailbox/emailView.html - correct typos in css class
- views/pages/uielements/helperClasses.html - change css name in border examples
New Inspinia js files
- views/pages/appviews/fileManager.js
- views/pages/miscellaneous/passwordMeter.js
- views/pages/miscellaneous/spinnersUsage.js
Updates
- views/pages/common/ibox-tools.js - update collapse-link click functions
- views/pages/dashboards/dashboard-3.js - create calcSidebarHeight() function for handle sidebar height
- views/pages/forms/formAdvanced.js - add new example for switchery control
- views/pages/landing/landing.js - add WOW intialise script
- config/router.js - add new routes
- plugins/steps
- plugins/switchery
- plugins/validate
- plugins/dataTables
New plugins
- plugins/touchpunch
- plugins/textSpinners
- plugins/pwstrength
CSS/LESS/SCSS/SASS
- Add styles for new pages
- Fix jumping menu on landing page
- Fix bg-colors
- Remove rules for support old IE
- Add styles for third level menu on md-skin
- Improve select2 styles
- Improve menu style
- Clear overwrite native media-body classes
- Improve few styles for IE
- Improve style for summernote
- Correct selected typo
- Fix chat-avatar class rules
- Fix typo in css preprocessor variables
Change log 2.6 -> 2.6.2
Updates
- Bootstrap to 3.3.7
CSS/LESS/SCSS/SASS
- Fix the issue with hidden href on mobile mini navbar
- Fix the flickering menu
- Fix Safari modal issue
- Fix Summernote fullscreen mode
- Fix css width helper classes
- Improve content height on fixed navbar
- Improve landing page on mobile view
Change log 2.5 -> 2.6
Please note that since Inspinia 2.6 Meteor project has Flow router - before Iron router.
This update required to change all routes in config.js file as well as all helper in navigation.html.
If you need any help with migration feel free to contact with me on support email and I will help you.
New view files
- pages/forms/autocomplete.html
- pages/miscellaneous/datamaps.html
- pages/miscellaneous/pdfViewer.html
- pages/miscellaneous/socialButtons.html
- pages/uielements/helperClasses.html
Changed views files
- views/common/navigation.html - add new menu elements for new views
- views/forms/formAdvanced.html (js) - add new features, tag input, dual listbox
- views/forms/fileUpload.html add new file input component
- dashboard-1.js - update script for new Chartjs version
- dashboard-2.js - update script for new Chartjs version
- dashboard-3.js - update script for new Chartjs version
- dashboard-4.js - update script for new Chartjs version
- dashboard-4l.js - update script for new Chartjs version
- chartjs.js - update script for new Chartjs version
New Inspinia js files
- public/pdf/example.pdf
- public/api/typehead_collection.json
Updates
- plugins/dropzone
- plugins/fullcalendar
- plugins/chartJs
- plugins/summernote
New plugins
- plugins/bootstrap-taginput
- plugins/dualListbox
- plugins/pdfjs
- plugins/topojson
- plugins/typehead
- plugins/bootstrapSocial
CSS/LESS/SCSS/SASS
- Add styles for new pages
- Fix menu jumping issue
- Improve print mode for Firefox
- Improve chosen colors
- Fix boxes layout with md-skin
- Improve custom swithc style
- Add few new css classes - helper classes
Change log 2.4 -> 2.5
2.5 version fully focused on update AngularJS projects.
New features and views will be added to separate 2.6 version.
Change log 2.3 -> 2.4
New view files
- pages/graphs/c3charts.html
- pages/ecommerce/shopingCart.html
- pages/forms/markdown.html
- pages/miscellaneous/clipboard.html
- pages/miscellaneous/i18support.html
- pages/miscellaneous/loadingButtons.html
- pages/miscellaneous/tour.html
- pages/miscellaneous/truncate.html
- pages/uielements/resizeablePanels.html
Changed views files
- views/common/navigation.html - add new menu elements for new views
- views/miscellaneous/agileBoard.html (js) - add example code for serialize list
- views/forms/formAdvanced.html (js) - add new Touch spin control
- views/landing/landing.js - update page-scroll click event to close menu on select in mobile
- views/tables/table_data_tables.html (js) - replace old swf buttons with new button plugin (update datatables library)
- views/uielements/video.js (js) - add script for handle full screen video option
New Inspinia js files
- public/locales/en.json
- public/locales/es.json
Changed Inspinia js files
- main.js.js - update mainLayout function
- top-navbar.js - update topNavbar event
Updates
- bootstrap - update to 3.3.6
- dataTables - create on compact datatables generate in official builder: https://datatables.net/download/index
- pace - update to 1.0.2
New plugins
- plugins/c3 (with css files)
- plugins/bootstrap-markdow (with css files)
- plugins/d3
- plugins/clipboard
- plugins/dotdotdot
- plugins/i18next
- plugins/ladda (with css files)
- plugins/touchspin (with css files)
- plugins/bootstrapTour (with css files)
New images
- imb/flags- Set of flags images
CSS/LESS/SCSS/SASS
- Add styles for new pages
- Fix buttons shadow on Chrome
- Fix dropdown text colour on md-skin
- Fix pace.js on fixed navbar option
- Fix few glitch animation effect
- Improve nav-tabs on mobile devices
- Fix second level menu on md-skin
- Improve RTL mode
- Add new fixed navbar option
- Ipmore print mode
Change log 2.2 -> 2.3
New view files
- pages/appviews/contact2.html
- pages/appviews/profile2.html
- pages/appviews/voteList.html
- pages/dashboards/dashboard-5.html
- pages/ecommerce/payments.html
- pages/ecommerce/productDetail.html
- pages/gallery/slick.html
- pages/miscellaneous/masonry.html
Changed views files
- views/common/navigation.html - add new menu elements for new views
- views/pages/forms/formAdvanced.html - Add select2 examples
- views/pages/uielements/tabsPanels.html - add example of fullscreen panel and slim scroll panel
New Inspinia js files
- No new files
Changed Inspinia js files
- No changed files
Updates
- bootstrap - update to 3.3.5
- client/plugins/dataTables - update to 1.10.8
New plugins
- client/plugins/slick (with css files)
- client/plugins/select2 (with css files)
- client/plugins/masonry (with css files)
- client/plugins/dataTables - table tools (with css files)
New images
- css/patterns- Add images for header in Material Design skin
CSS/SCSS/SASS
- Add styles for new pages
- Add new md-skin styles
- Fix ibox-tools when title is large
- Fix landing page menu on small devices
- Fix modal open backdrop with animate.css effect
- Fix dropdown orientation under ibox
- Fix profile menu on fixed sidebar
Change log 2.1 -> 2.2
New view files
- pages/graphs/chartist.html
- pages/metrics/metrics.html
- pages/app_views/social_feed.html
- pages/miscellaneous/sweetAlert.html
- pages/tables/fooTables.html
- pages/uielements/tabs.html
- pages/landing/landing.html (incorporate to admin)
- pages/ecommerce/orders.html
- pages/ecommerce/productEdit.html
- pages/ecommerce/productsGrid.html
- pages/ecommerce/productList.html
Changed views files
- views/common/navigation.html - add new menu elements for new views
- views/common/navigation.html - added ".metismenu" class to nav element id="side-menu" (new version of metisMenu)
- views/pages/appviews/article.html - Add example of comments section
- views/pages/forms/formAdvanced.html - Add new new plugins
- views/pages/uielements/tabsPanels.html - add example of footer to panel and initial collapsed panel
- views/pages/miscellaneous/chatView.html - Add left/right class to chat panels
- views/landing/landing.html - Add new sections: timeline and comments
New Inspinia js files
- No new files
Changed Inspinia js files
- views/layouts/mian.js - Update fix_height for handle height wrapper on fixed-nav
Updates
- client/plugins/metisMenu - update to 2.0.2
- client/plugins/slimscrol - update to 1.3.6
- client/plugins/jvectormap - update to 2.0.2
- client/plugins/fullcalendar/moment.min.js - update to 2.9.0
New plugins
- client/plugins/clockpicker (with css files)
- client/plugins/daterangepicker (with css files)
- client/plugins/footable (with css files)
- client/plugins/sweetalert (with css files)
- client/plugins/chartist
- client/plugins/awesome-bootstrap-checkbox
New images
- public/img/landing - Full folder of images used in landing page
CSS/SCSS/SASS
- Add styles for new pages
- Add new metisMenu style
- Add landing page styles
- Add chat-discussion left/right class
- Fix z-index of modal-dialog
- Fix margins on wrapper when fixed-nav is enabled
Change log 1.0
Contact
Contact as with email: support@webapplayers.com